

Ever wondered how some photos look like they were kissed by the sun itself? Or how certain portraits seem to glow with a dreamlike warmth? That, my friend, is the magic of lens flare — and with Photeeq Lens Flare, it’s easier (and more powerful) than ever to sprinkle that magic across your work.
But before we jump into the “how,” let’s take a quick look at the “what” and the “why.”
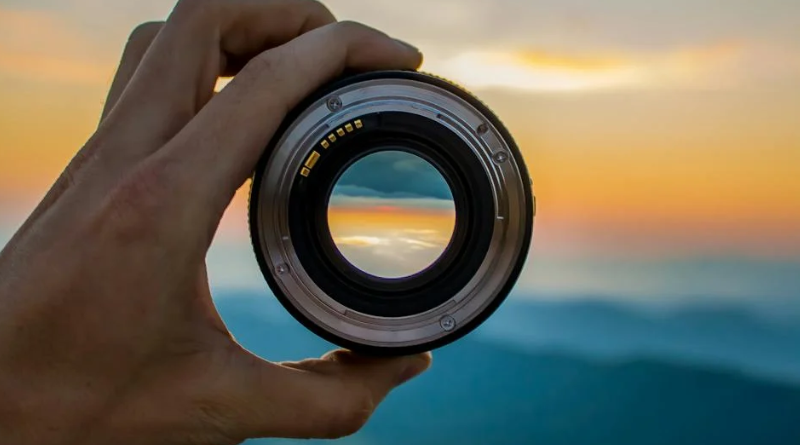
What is Photeeq Lens Flare?
Photeeq Lens Flare is a digital tool — a plugin for photo editing software like Photoshop — designed to create hyper-realistic, customizable lens flare effects. Unlike cheesy, over-the-top filters from the early 2000s (we all remember those), Photeeq gives you nuanced, sophisticated control over how light interacts with your images.
Think of it like this: if photography is your canvas, Photeeq Lens Flare is your sunlight in a bottle.
Why Use Lens Flare?
A well-placed lens flare can:
- Create Emotion: Warmth, nostalgia, hope — all evoked with a single beam of light.
- Add Depth: Break the two-dimensional plane, making your photo feel immersive and alive.
- Guide the Eye: Direct attention subtly to the subject or frame a scene dynamically.
- Tell a Story: A flare isn’t just light; it’s a mood.
In the hands of a thoughtful editor, a lens flare is like a musician’s final, lingering note — it leaves an impression that words can’t describe.
How to Create Stunning Photos with Photeeq Lens Flare
1. Choose the Right Photo
Lens flare shines best (pun totally intended) on photos with a natural light source — sunsets, backlit portraits, and dreamy landscapes are perfect candidates.
2. Open the Photeeq Plugin
Once you’re in your editing program, load your photo and activate the Photeeq Lens Flare plugin. You’ll immediately see a library of flare types: circular halos, streaks, starbursts, and even soft blooms.
3. Pick Your Flare Style
Want something subtle? Go for a soft bloom.
Need drama? Try a bold, streaking flare across the lens.
Pro tip: Match your flare style to your photo’s mood. A misty mountain scene doesn’t need a nightclub strobe effect.
4. Customize, Customize, Customize
Here’s where Photeeq really outshines the rest:
- Position the Flare: Drag it exactly where the light source should be.
- Adjust Opacity: A flare should enhance, not overwhelm.
- Change Color Temperature: Warm golden hues? Cool cosmic blues? Your choice.
- Tweak the Size and Spread: Make it delicate or daring depending on your vision.
You are the artist — Photeeq is your brush.
5. Blend Like a Pro
Use blending modes to integrate the flare naturally into your photo. “Screen” and “Lighten” often work wonders to make the flare feel like it was captured in-camera.
6. Final Touches
Zoom out, take a breath, and review. Sometimes a small nudge or slight desaturation perfects the effect. Trust your instincts.
Tips for Masterful Lens Flare Effects
- Less is more. A tiny sparkle can say more than a full sun explosion.
- Respect the light direction. Fake-looking flare ruins the illusion fast.
- Use flare to complete the composition. Let it lead the eye or balance out empty space.
- Experiment! Every photo is different. Tweak until it feels right.
Common Mistakes to Avoid
Overloading the image: Flare is a garnish, not the main course.
Wrong light direction: The sun can’t flare from the shadows, right?
Ignoring realism: Unless you’re going for a fantasy effect, aim to match the real-world behavior of light.
Final Thoughts: Light It Up!
Photography is all about capturing light — and Photeeq Lens Flare gives you the power to shape that light like a master sculptor. Whether you’re editing a glowing engagement photo, a cinematic street scene, or a fantastical dreamscape, the right flare transforms good into unforgettable.