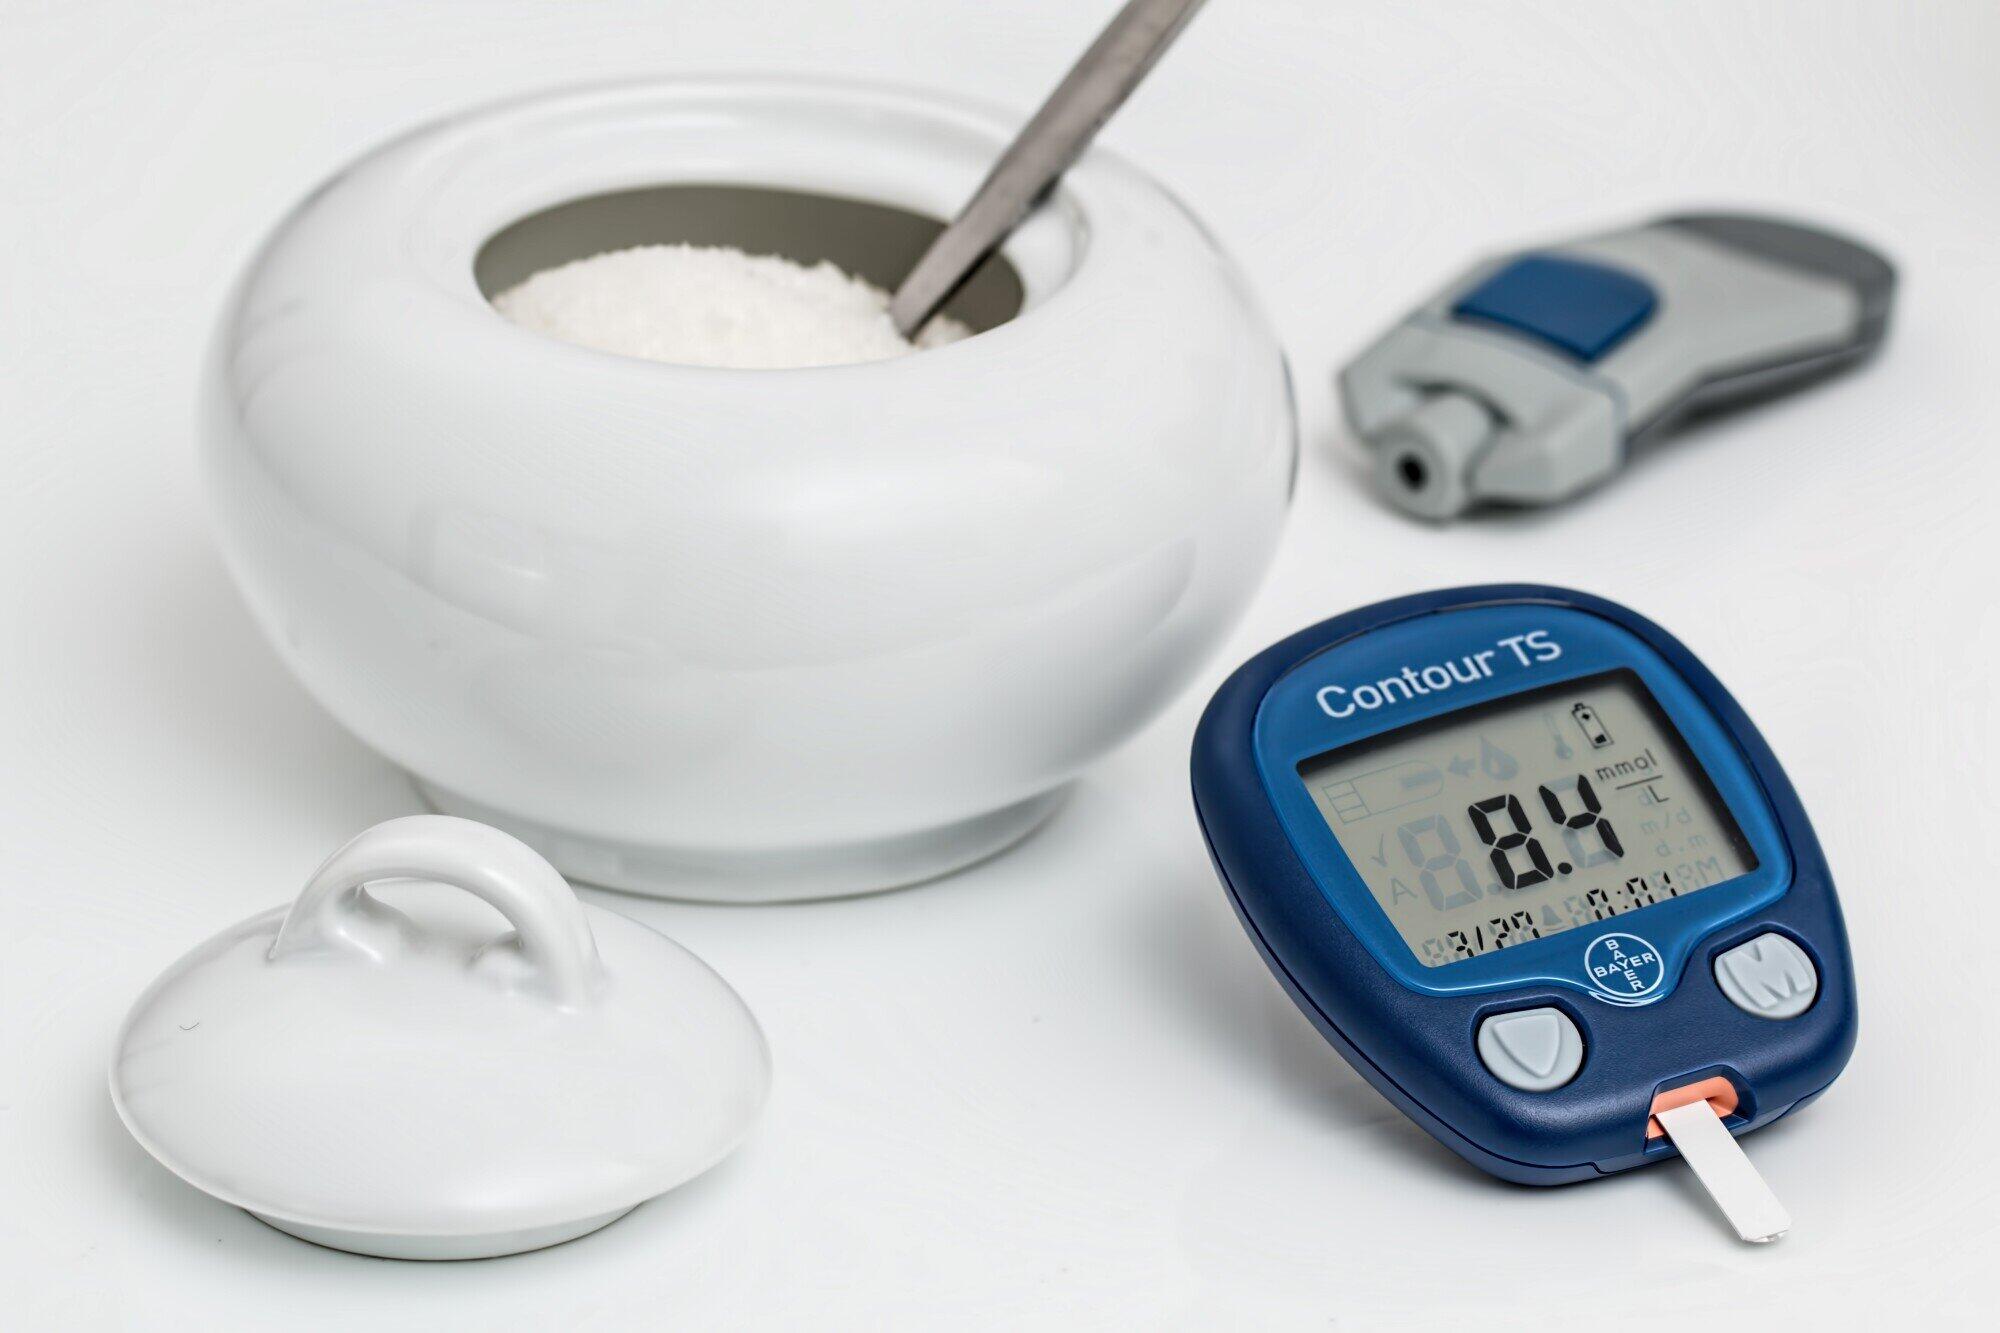
Monitoring blood glucose levels is a crucial aspect of managing diabetes. A glucometer is an essential tool for patients to track their blood sugar levels effectively. It’s easy to use at home. This guide will show you how.
You will learn to check sugar levels accurately. This is important for keeping healthy. It helps you know when to eat, exercise, or take medicine.
A glucometer gives you control over diabetes. It makes monitoring quick and painless. With practice, it becomes a simple part of daily life.
This guide aims to teach anyone how to monitor patient sugar levels. Keep reading.
Step 1: Gather Necessary Supplies
Before using a glucometer, gather all the supplies you need. This includes:
- Glucometer
- Lancet device
- Lancets
- Test strips
- Alcohol swabs
- Contour test strips
- Logbook or app for recording results
Having everything ready makes the process smoother. Make sure your test strips are not expired. Expired strips can give incorrect readings, which isn’t safe. Check out these reliable contour test strips they’ll give accurate readings every time.
Step 2: Prepare the Glucometer
To start, make sure your glucometer is clean. Use a dry cloth to wipe it. This helps get accurate results.
Next, insert a new test strip into the device. Make sure it clicks into place. Most monitoring systems boot up quickly and have simple on-screen instructions.
Check the glucometer’s display to confirm it’s ready. You should see a symbol or number. This means it’s time to take your blood sample.
Step 3: Wash Your Hands
Before you take your blood sample, it’s necessary to wash your hands. Use warm water and soap to get rid of germs. This helps avoid infections and makes sure you get a clean sample.
Dry your hands well after washing them with a clean towel. Wet hands can dilute your blood sample. This could mess up your test results.
Make sure your hands are warm too. If they’re cold, it can be hard to get a good drop of blood. Rubbing them together quickly can help warm them up before you test.
Step 4: Prepare a Lancet Device
Getting the lancet device ready is your next step. First, make sure you have a new lancet. Open the lancet device and place the lancet inside carefully.
Next, adjust the lancet depth, this determines how deep the lancet goes into your skin. If you’re not sure, start with a medium setting. You can change it later based on how it feels.
Finally, close the lancet device, it’s now loaded and ready to use. When you press the button, it will prick your finger to get a blood sample. Remember, using a new lancet each time helps prevent infection.
Step 5: Clean Your Finger
Choose which finger you will use for testing and clean the area with an alcohol swab or soap and water. This kills germs and makes sure your test is clean.
Wait for the alcohol to dry on your finger. This should take a few seconds. If the alcohol is wet, it can mix with your blood and mess up your test results.
Choose a finger to prick that you didn’t use last time. This helps avoid sore spots. Rotating fingers is a good idea to keep them feeling okay.
Step 6: Prick Your Finger and Apply Blood to the Test Strip
Now, you’re ready to get a blood sample. Hold the loaded lancet device against the side of your fingertip. Press the button to prick your finger.
You should see a small drop of blood form. If not enough blood comes out, gently squeeze your fingertip from the base to the tip. Be gentle to avoid bruising.
After getting a drop of blood, you can proceed with the test. Place the drop of blood onto the designated area on the test strip. Make sure you have enough blood for an accurate reading.
Step 7: Wait for the Results
After applying the blood to the test strip, the glucometer will start processing the sample. This usually only takes a few seconds. Watch the glucometer’s screen for the blood sugar reading to appear.
The device will display your current blood sugar level once it’s done analyzing. It’s important to stay calm during this time. Sometimes, the wait might feel a bit long, but it’s usually over quickly.
Record the results in your logbook or a tracking app as soon as it’s displayed. Keeping track of your readings over time helps you notice any patterns or changes. This information is valuable for managing your diabetes effectively.
Step 8: Dispose of Supplies Properly
After checking your sugar levels, it’s crucial to throw away used supplies safely. Put used lancets and test strips in a hard plastic container. This stops them from hurting anyone.
A laundry detergent bottle can be a good choice. Make sure the container is labeled “Biohazard” or “Sharps” to warn others. When it’s full, tape the lid and throw it in the trash, but never recycle it.
Lastly, always wash your hands after handling used supplies. This will keep you and everyone safe. Remember, taking care of your waste helps protect the environment and people around you.
Step 9: Interpret Your Results
After getting your blood sugar reading, it’s time to understand what it means. Your doctor can help explain the numbers to you. Knowing what’s normal for you helps in tracking patients’ health better.
If your reading is higher or lower than usual, don’t worry right away. You might need to eat, rest, or maybe take medicine. It’s all about keeping your sugar levels in a safe range.
Sometimes, your numbers will change because of food, exercise, or stress. Writing down what you do every day can help you see patterns.
Empowering Yourself to Monitor Patient Health Effectively
Successfully learning to monitor patient blood sugar levels is a crucial step towards managing diabetes effectively. This guide provides you with detailed instructions and best practices to ensure accuracy and safety. By empowering yourself with this knowledge, you can play an active role in healthcare, making informed decisions daily.
Remember, consistent monitoring and adopting a holistic approach to health can significantly improve your quality of life or that of a patient under your care.
If you are interested in other health and wellness articles, make sure to visit the rest of our website.